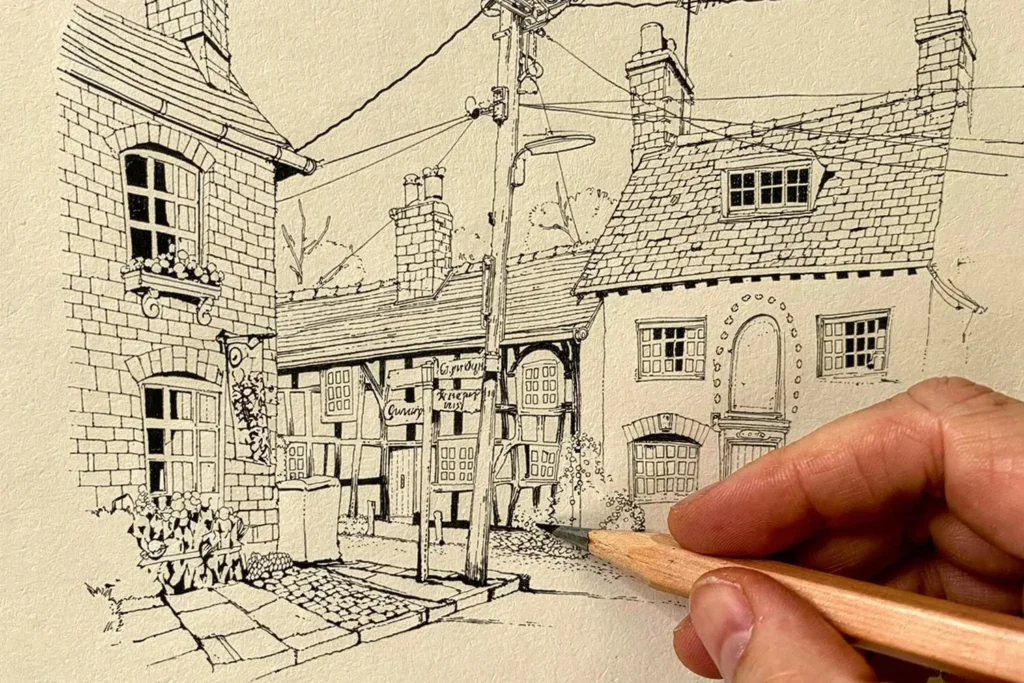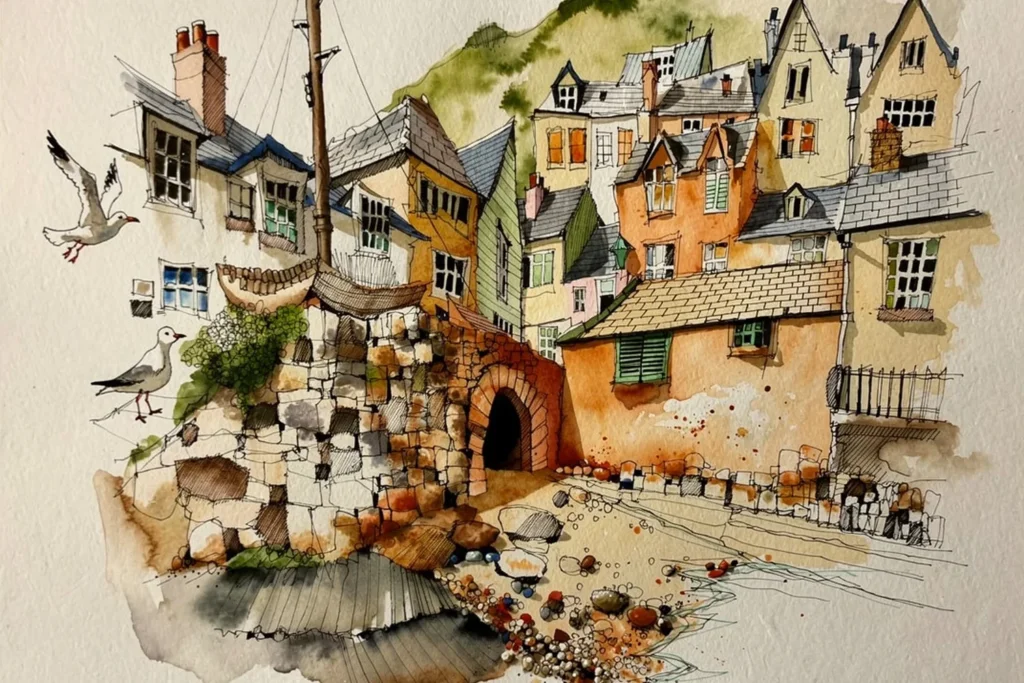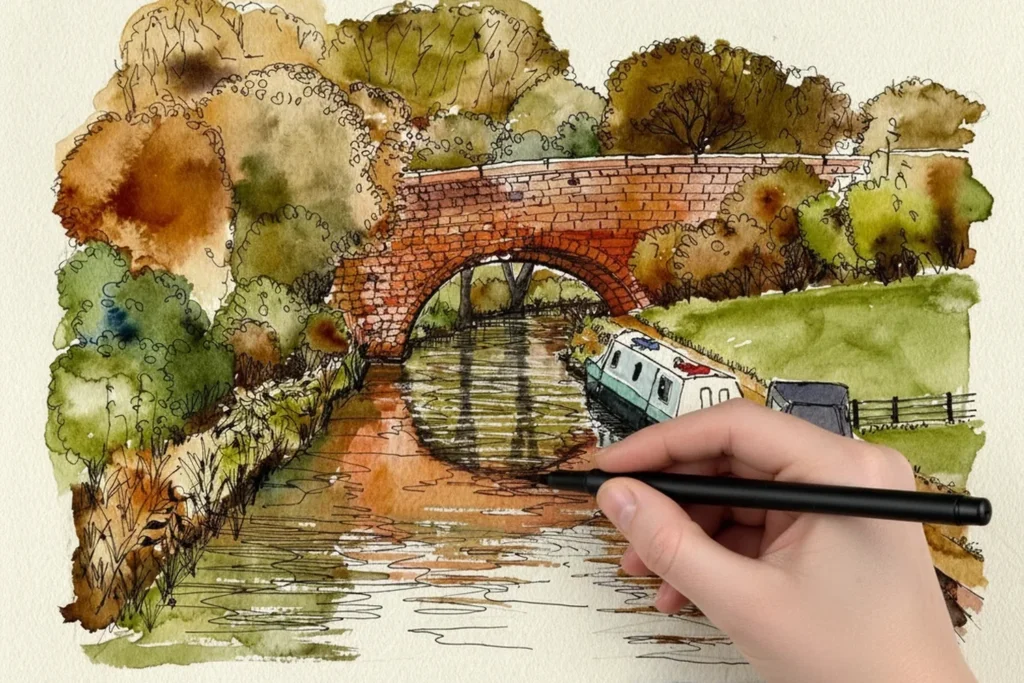
Adding tone with brush pens means building shadow and depth on top of a dry watercolour, using water-soluble Tombow brush pens in a small range of greys. It is Stage 3 of my four-stage process, and it is the stage where a flat, coloured sketch starts to look solid.
What you'll need
- Tombow dual brush pens in six greys: N15, N65, N79, N60, N89 and N95
- A watercolour sketch that has finished Stage 2
- A scrap of paper for a tone chart
Why do I use grey brush pens, and why after the watercolour?
Stage 3 comes after the watercolour stage, and this is where everything starts to knit together. I use the Tombow brush pens twice in my process: at the very start, to sketch out the big shapes, and later on to apply tone.
There are well over a hundred Tombows, in every colour. I have used the coloured ones, but I avoid them now. If I have a cobalt blue brush pen and cobalt blue paint, that is too much choice. So I keep the line and tone work in grey and let the watercolour carry all the colour. Clean separation.
The pens are water soluble, so they sit on top of the watercolour and pick up some of the colour underneath. You never quite know what you are going to get, and that unpredictability is part of what makes them interesting.
Which six greys do I use?
These are the ones I use most:
- N15: the black
- N65: the mid grey
- N79: the warm grey, almost a sepia
- N60: the cool grey
- N95: the lightest, most delicate grey
- N89: a second very light grey, close to N95 but different
Together with the white of the paper, that is my complete tonal range for Stage 3.
How do I make a tone chart?
It is worth having one pinned up in your studio, because it is no good guessing a pen’s value from the barrel. You need to see it on paper.
- Hold the brush end of the pen and make plenty of contact with the side, not just the tip. That gives a smoother, more even spread.
- Work from the lightest grey to the darkest, finishing with N15.
- Write the pen number underneath each swatch.
- Cut the chart out and keep it with you. On location, when you need to decide quickly which pen to reach for, that little card is worth its weight.
How do I apply the tone?
The angle is everything. If you hold the brush end upright, you only touch the paper with the very tip and it moves like an old felt-tip, which is no good for covering area. Push the pen down to an acute angle so the side of the brush is on the paper, and you can fill a shape incredibly quickly. I use that for large areas of tone.
For smaller shapes, such as cobbles, bricks and little patches of shadow, flip the pen back upright and ping the tone in with short, light strokes.
Don’t press hard. Light pressure keeps the ink flowing and protects the nib, and these pens last a long time if you treat them well.
Once you are working, bounce the same tone around the sketch, across the rooftops, the rocks and the bridge, so it appears in different places and begins to link everything together. That is tone doing its job: not just describing shadow, but creating visual connections across the composition.
How do I make a tone darker?
This took me about two years to discover, and I still find it almost embarrassing it is so obvious. Put a tone down, wait 15 or 20 seconds, then go over it again with the same pen. It gets noticeably darker.
The real doubling of depth happens between the first pass and the second. A third pass works, but with diminishing returns. The one exception is the black: black is black, and going over it again makes little visible difference.
What this means in practice is that your six greys give you twelve tones, because every pen has a light and a dark version of itself. On location, when you need to deepen a shadow or push something back into the picture, it is the fastest tool you have. No new pen, no mixing, just go back over it.
How do I blend from dark to light?
This works best towards the end of a sketch, when you want something to look solid and three-dimensional. Put down a solid mark in black (N15). Then go over it with the lightest grey (N95), which loads the light pen with black ink, and drag it away across the page. As the pen cleans itself out, it fades back to its own light grey, and you get a gradual blend from solid black to pale grey.
It only works because the pens are water based, so they interact with each other. Tombow also make alcohol-based markers, and those will not blend like this. You can try other pairs too: N79 into N95 gives a subtler, warmer result.
What goes wrong?
- Pressing hard. Light pressure keeps the ink flowing and protects the nib.
- Using the pen upright for big areas. You are only using the tip. Lower the angle and use the side of the brush.
- Blending everywhere. Use it in specific places: a doorway, a deep shadow, an arch, somewhere you really want to push the three-dimensional quality. Used sparingly, it adds real drama.
- Reaching for coloured pens. Keep colour in the watercolour and let the greys do the tone.
Try this today
Make a tone chart on a scrap of paper: six swatches from the lightest grey to N15, each labelled with its pen number. On one swatch, wait 15 to 20 seconds and go over it a second time with the same pen. Compare the two halves side by side. That jump is the whole technique.
Where does this fit in the four-stage process?
Tone and Shade is Stage 3 of the four-stage process I use in all my courses: Big Shapes, Watercolour, Tone and Shade, Detail. It follows the watercolour stage, and it comes after simplifying a scene into big shapes, where I use the fine liner end of the same pen. To see the whole process on a real subject, my free Beddgelert Bridge course works through every stage (it is opening soon, and you can leave your email on that page to hear when it does). You can also explore all the painting workshops.
Free course, opening soon
Ready to paint your first complete picture?
This free course takes you through every stage, from first pencil mark to finished painting. It is not open just yet: leave your email and I will let you know the day it opens.
Notify me when it opens