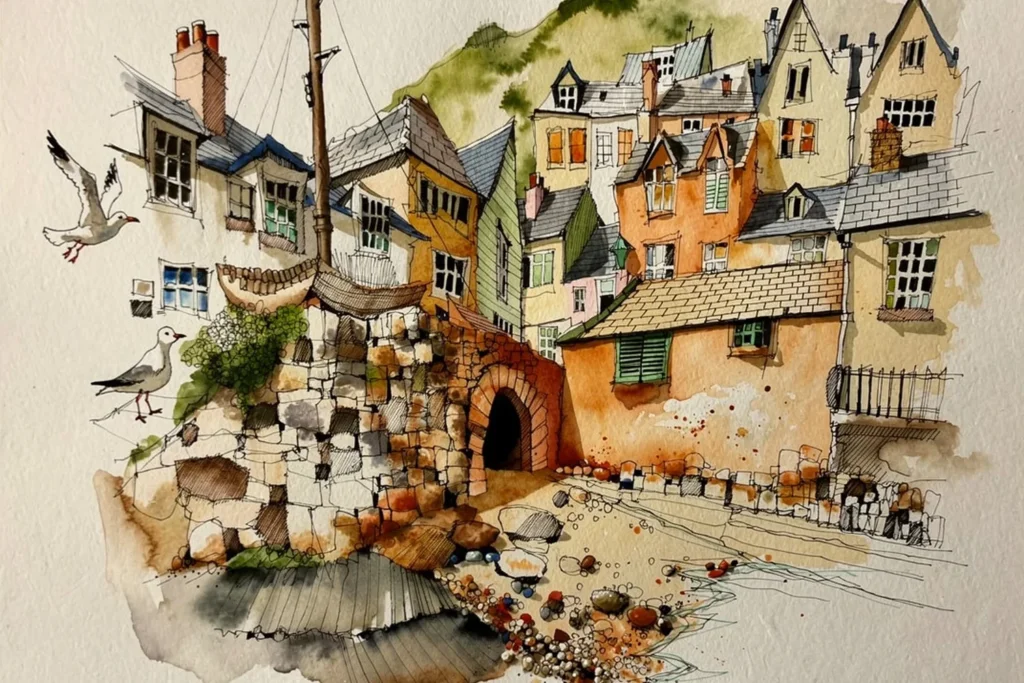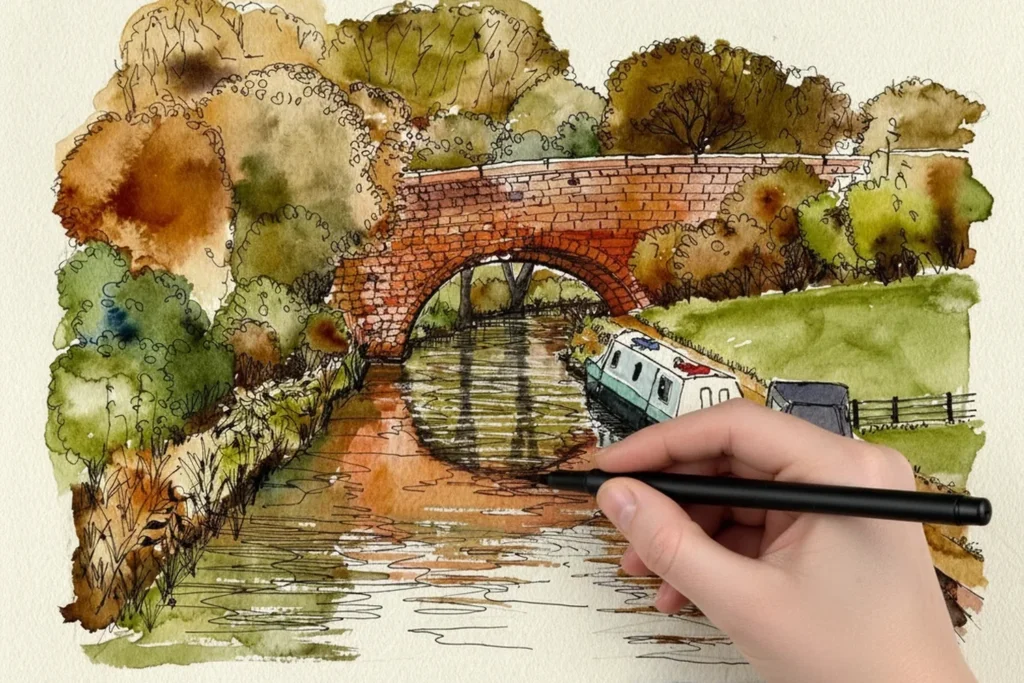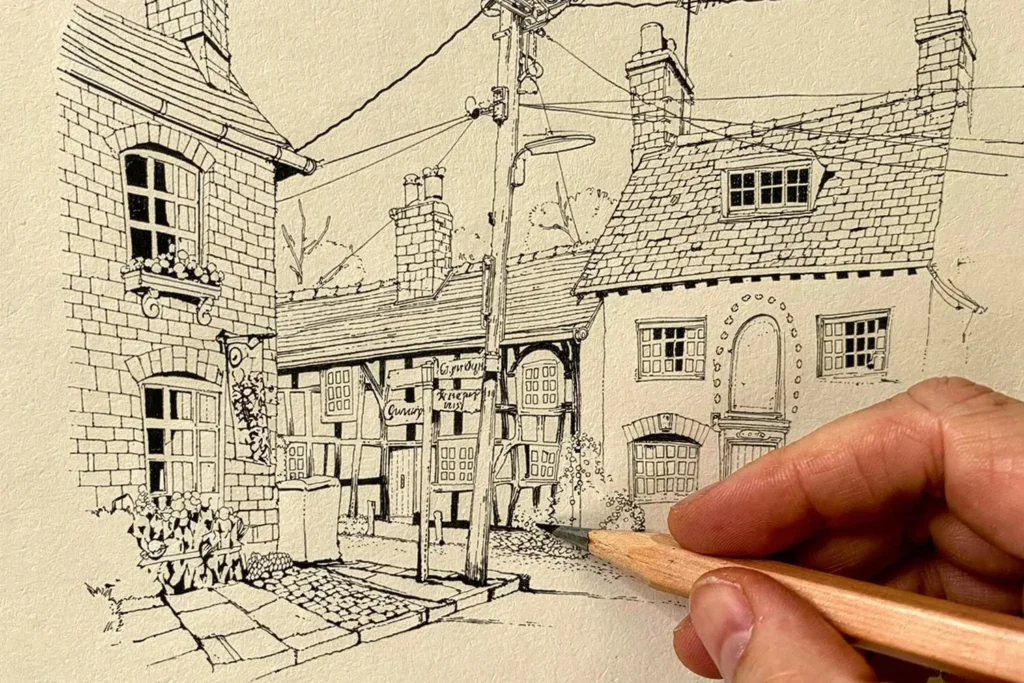
Simplifying a scene into big shapes means reducing what you see to its few largest masses before you draw any detail. It is Stage 1 of my four-stage painting process, and it is the single change that made the biggest difference to my paintings.
What you'll need
- A pencil, or the fine liner tip of a Tombow brush pen
- A sketchbook or sheet of paper
- A timer (your phone is fine)
What do I mean by big shapes?
Big shapes does not mean drawing big things. It means drawing the fundamental structure of the composition before adding any specific information.
Think of a building. It has walls, windows, a roof, a door, guttering, signage and brickwork. None of that is big shapes. Big shapes is the rough rectangle of the main wall mass. The triangle of the roofline. The darker rectangle of the archway. The vertical of the chimney stack. Not the chimney pot, the chimney.
If you squint at a scene until it blurs, until the detail disappears and you are left with a simplified image, what remains is the big shapes. Those are what you draw first.
Why start with big shapes?
I didn’t always paint this way. In my earlier work I would start with whatever interested me most, a doorway, a window frame, an interesting piece of detail, and build the painting outward from there. The results were often technically proficient and compositionally weak. The painting had detail but no architecture. It had skill but not structure.
Starting with big shapes means you make the composition decisions before you commit to any specific marks:
- Where does the painting start and end? (cropping and framing)
- What is the dominant shape, and what is secondary? (visual hierarchy)
- Where is the most important area of contrast? (your tonal anchor)
- What can be simplified or left out entirely? (editing)
These decisions decide whether a painting works as a whole, and they are much easier to make, and to correct, when you are working with abstract shapes than with specific things. If the main building is in the wrong place, you can see and fix that in thirty seconds when it is a rough rectangle. If you realise it after you have drawn forty windows, you are in trouble.
How do I find the big shapes in a scene?
Try these four steps, in this order.
1. Squint. Before you draw anything, squint at the scene. What survives? Five shapes? Three? Draw only those, then open your eyes and carry on.
2. Reduce the scene to three shapes. Pick a dark shape, a mid-tone shape and a light shape (often the sky or a light wall). Draw them as flat, simplified forms. It may not be finished, but it already works as a structure.
3. Draw shapes, not things. When you pick up the pencil, avoid naming what you are drawing. Not “the bridge arch” but “the dark curved shape”. Not “the chimney” but “the tall vertical”. Language pulls you towards detail. Thinking in shapes keeps you at the structural level where big shapes works.
4. Set a five-minute timer. Give yourself five minutes and nothing more for Stage 1. No detail, no shading, no refinement, just the major shapes placed with intention. When the timer goes, move on to watercolour. The limit stops you over-refining and makes you commit to what you have observed.
Why does starting with structure make my painting looser?
There is a paradox most beginners don’t see until they have experienced it: structure creates freedom.
When the composition is clear and the main shapes are in place, you can be loose with the watercolour and loose with the detail. The bones of the painting hold everything together, and the expressive marks sit inside a structure that makes sense of them. Without that structure, looseness looks like mess, because the marks have nothing to gather around.
This is why Stage 1 comes before everything else in my process. It isn’t the exciting stage. It doesn’t produce the dramatic moments that watercolour washes and Tombow tone do. But it is the stage that makes those later stages look good.
What goes wrong if I skip it?
You can tell when this stage has been skipped, even if the painter can’t. The painting has energy in the details but weakness in the whole. The focal point isn’t clear, because nothing was set up to make it clear. The edges feel uncertain, with things just stopping rather than being framed. The tones don’t agree with each other, because there was no tonal plan.
None of this is unfixable, but it is far harder to fix halfway through a painting than to prevent at Stage 1.
Try this today
Choose any scene in front of you, a street, a window, a view from a café. Set a five-minute timer and reduce it to three shapes: one dark, one mid-tone, one light. Don’t add a single detail. Then look at what you have drawn. If it reads as a composition, you have found your big shapes.
Where does this fit in the four-stage process?
Big shapes is Stage 1 of the four-stage process I use in all my courses: Big Shapes, Watercolour, Tone and Shade, Detail. Each stage is made easier by the decisions that came before it. Stage 2 is freer because Stage 1 set up the structure. Stage 3 works better because Stage 2 laid the colour foundation. Stage 4 has personality because the first three stages gave it something to sit on.
To see the whole process on a real subject, my free Beddgelert Bridge course works through every stage (it is opening soon, and you can leave your email on that page to hear when it does). Next in this series: adding watercolour to the big shapes outline. You can also explore all the painting workshops.
Free course, opening soon
Ready to paint your first complete picture?
This free course takes you through every stage, from first pencil mark to finished painting. It is not open just yet: leave your email and I will let you know the day it opens.
Notify me when it opens